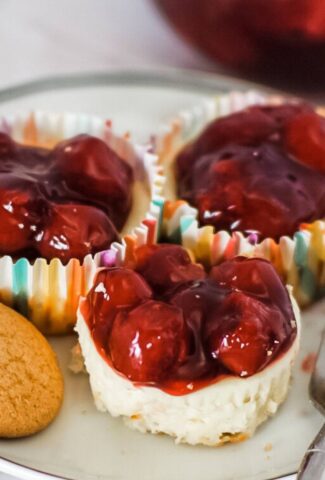
These Cheesecake tarts are so sweet and delicious; sampling one will not be enough! My simple-to-follow guide will help you make a batch of these tarts in no time at all. If you love cheesecake, then you have to give this recipe a try. It won’t disappoint!
The tarts are like mini cheesecakes in tart form. The crumbly casing filled with the cheesecake mixture is a different take on that classic refrigerated cheesecake dessert that many enjoy.
If you love sweet treats like this one, check out these delicious peppermint cookies or these fantastic chocolate pancakes!
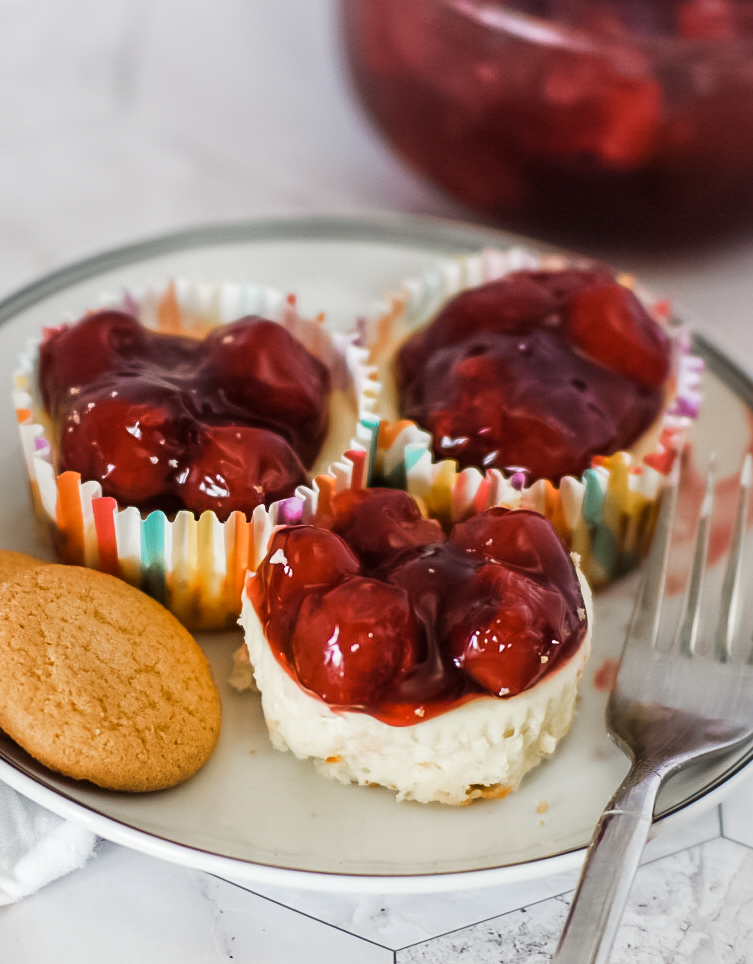
I love how simple these tarts are to make, and they can be a real crowd-pleaser when served at parties or gatherings. The cherry flavor is sharp and is balanced perfectly when you combine the cream cheese and vanilla.
Creamy in texture, sweet in flavor, and baked to perfection, you can’t go wrong with these mini cheesecake tarts.

What are cheesecake tarts?
Cheesecake tarts take all the creaminess of a cheesecake filling and elevate it by adding it to individual vanilla wafers. Baked in the oven instead of refrigerated, the tart shells are crisp, and the filling is sweet. You get all of the flavor of cheesecake in mini form.
Ingredients
- Cream cheese: The main ingredient of these delicious tarts. You can use full-fat cream cheese, and it needs to be softened. Top tip – Leave it on the counter 30 minutes before you need it to make it easier to soften.
- Granulated sugar: This will add extra sweetness to the cream cheese mixture.
- Vanilla extract: The vanilla flavor works incredibly well with the cheesecake filling.
- Large eggs: Eggs help give that extra smooth and rich texture.
- Vanilla wafers: This will add a subtle crunch to the cheesecake tart.
- Cherry pie filling: Another flavor that will be a huge hit with these mini cheesecake tarts.

These ingredients complement each other wonderfully, and the individual servings of these sweet cheesecake tart shells will go down a storm with whoever you serve them to.
How to make the cheesecake tarts
Let’s get started with making these mini desserts. These easy-to-follow steps will have you creating mini cheesecake individual tarts in less than an hour.
Start with the preparation
Preheat the oven to 350°F (175°C). This ensures that your tarts will bake evenly and develop a delightful texture.
Line a standard muffin pan with cupcake liners. This prevents the tarts from sticking to the pan and makes for easy removal after baking.

Making cheesecake filling
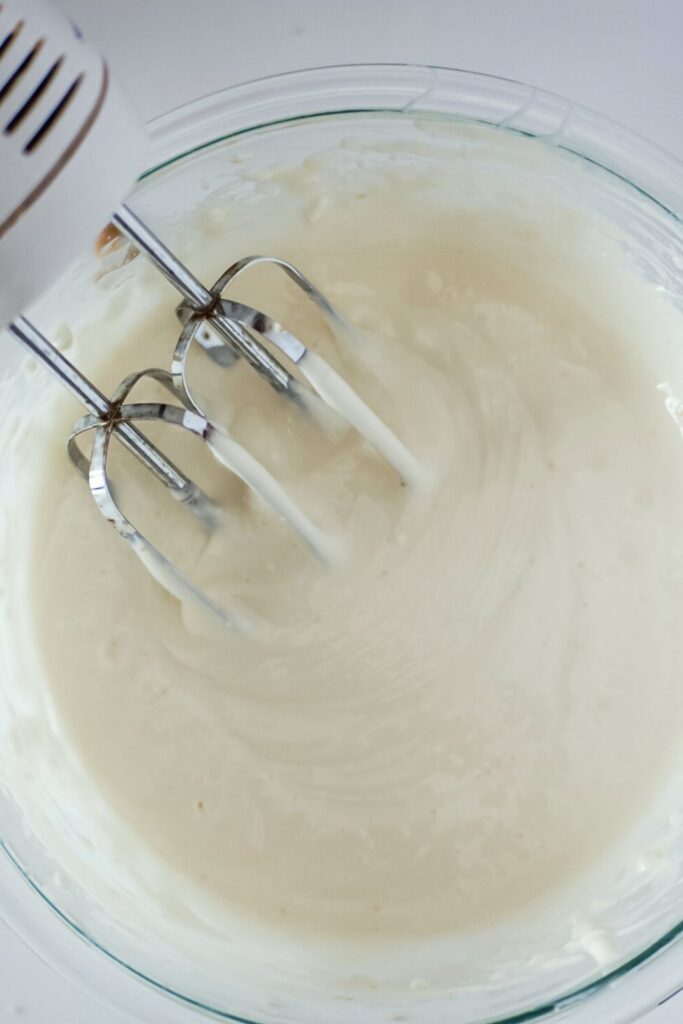
In a mixing bowl, beat together the eggs, softened cream cheese, granulated sugar, and vanilla extract. The goal is to achieve a smooth and creamy consistency that will form the base of your tarts. The blending process usually takes a few minutes and ensures the ingredients are well combined.
Place a single vanilla wafer at the bottom of each cupcake liner, flat side down. This wafer will serve as the crust for your tarts and add a delectable texture to each bite.
Assembling the cheesecake tarts
Fill each cupcake liner with the prepared cream cheese mixture. Leave approximately 1/4 inch of space from the top to allow room for the tarts to rise slightly during baking. This space will also accommodate the final layer of cherry pie filling.
Bake the mini cheesecakes
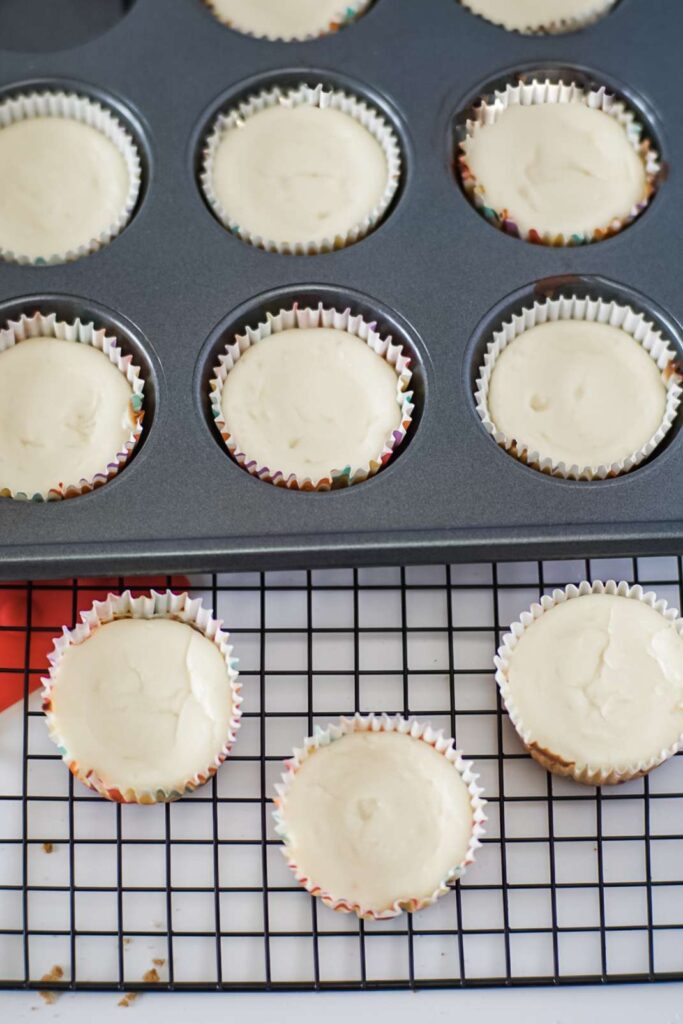
Carefully transfer the muffin pan to the preheated oven. Bake the tarts for 15 to 20 minutes, monitoring them closely. The tarts are ready when a tester inserted into the center comes out clean. This baking time ensures that the tarts are cooked to perfection, with a lightly golden top.
Once baked, remove the tarts from the oven and allow them to cool completely. This step is essential as it allows the tarts to set and firm up, ensuring a delightful texture when bitten into.
Serve them chilled
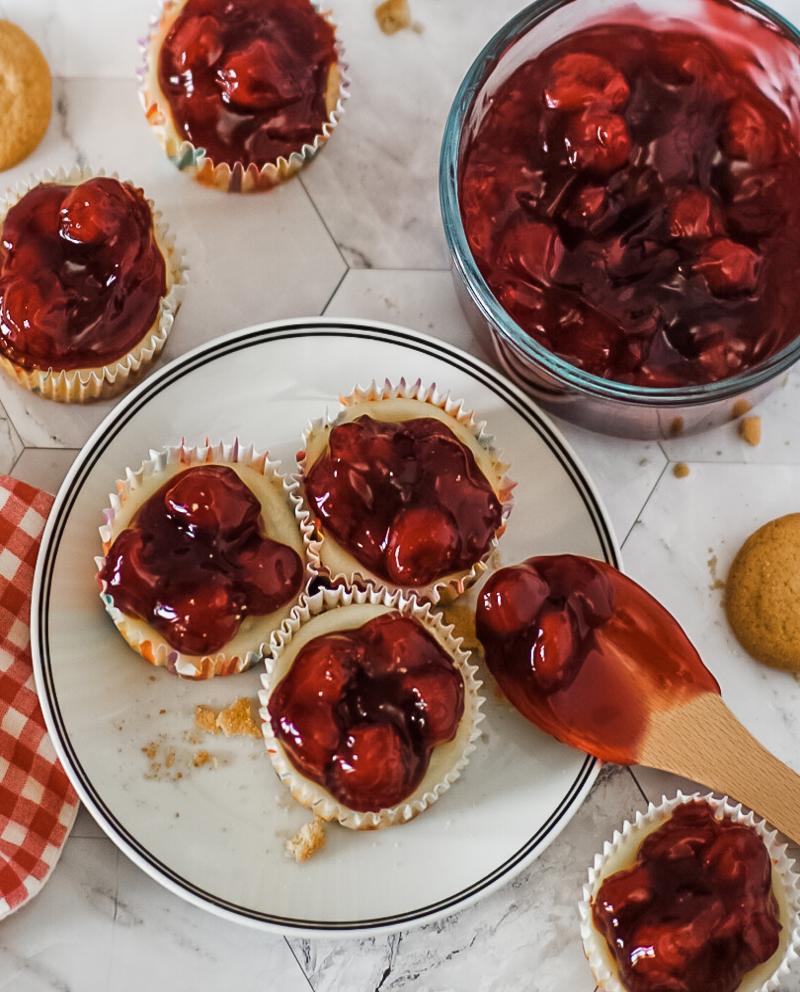
After the tarts have cooled, gently spoon the cherry pie filling onto the top of each tart. This vibrant and flavorful topping adds a burst of color and taste to each bite.
To achieve the best taste and presentation, refrigerate the tarts until thoroughly chilled before serving. This cooling period allows the flavors to meld and intensify, resulting in a scrumptious dessert experience.
Tips And Tricks For Making The Cheesecake Tarts
- Make sure you don’t overfill those cupcake liners. The mini tarts will rise slightly as they are baked.
- A preheated oven helps to ensure that your cheesecake tarts bake evenly.
- Instead of the cherry filling, you could look at using blueberry pie filling instead.
- Why not add some chocolate chips to the cheesecake mixture?
- Serve the mini cheesecake tarts with a dollop of whipped cream.
- Once the tarts have been baked, you must give them a chance to cool before removing them from the cupcake liners. This helps the cheesecake filling to become firm and keep its shape.
- Make sure to use softened cream cheese. This will ensure that you can combine all of the ingredients together easily.
Variations to try
There are lots of ways you can vary these cheesecake tarts, making them have different flavors or trying new things. I wanted to suggest a couple of options to inspire you to give them a try.
Change the topping
I have used cherry pie filling on top of the cream cheese for this recipe but there are so many variations you can try. Why not use blueberry pie or even some apple puree? Apple would be the perfect flavor for the fall. You could even try adding some pumpkin pie filling for an alternative dessert to serve at Thanksgiving.
Try different tart shells
Why not try using graham crackers? You could make a graham cracker crust as an alternative to the vanilla wafers. Mix graham cracker crumbs and sugar together, along with some melted butter. Then, add a spoonful of the graham cracker mixture to the bottom of your cupcake liners and continue with the recipe as suggested.
Keep it simple
You could just leave this as a simple vanilla cheesecake filling and not add the additional fruit pie filling on top. To serve, you could drizzle some chocolate or strawberry sauce to serve. You could also add some lemon juice to give the filling a different flavor.
How to store the tarts
The cheesecake tarts are best stored in the fridge. They can be added to an airtight container and then stored in the refrigerator for up to five days.
You can freeze the cheesecake tarts. Just make sure they have set in the refrigerator for a few hours before allowing them to freeze individually. Then, add them to an airtight container for easy storage. Allow them to thaw for a few hours before enjoying them.
Trust me: Storing them properly ensures that every bite will still be filled with that rich, creamy cheesecake filling with the sharpness of the cherry pie filling.
How to serve these cheesecake tart shells
You can serve these cheesecake tarts in so many ways.
- Whipped Cream Dollop: Simply add a generous dollop of whipped cream on top of each tart. The light, airy texture of the whipped cream complements the rich creaminess of the cheesecake.
- Coconut Cream: Mix some toasted coconut shreds into your whipped cream before adding it to the tart for a tropical twist.
- Caramel Drizzle: A warm caramel sauce drizzled over the cherry-filled cheesecake tarts will introduce a deep, rich sweetness that complements the tart’s overall flavor.
- Powdered Sugar: A light dusting of powdered sugar can add an elegant touch and a mild sweetness.

FAQs
How do I know when the cheesecake tarts are perfectly baked?
The cheesecake tarts are perfectly baked when a tester inserted into the center of a tart comes out clean. The top of the tarts should also appear lightly golden. It’s crucial to monitor them closely during baking, which typically takes between 15 to 20 minutes.
Why do I need to refrigerate the tarts before serving?
Refrigerating the tarts allows the flavors to meld together and intensify, providing a more delicious and cohesive taste experience. Plus, the cooling period ensures that the tarts are set properly, achieving that delightful creamy texture when bitten into.
Can I make these cheesecake tarts in advance for an event or gathering?
Certainly! These tarts are perfect for making in advance as they need to be chilled before serving. Simply prepare and bake them, then add the cherry pie filling and refrigerate. Serve them straight from the refrigerator during your event for a refreshing and delicious treat.
How can I tell if my cream cheese mixture has the right consistency before baking?
Your cream cheese mixture should be smooth and creamy, without any lumps. Beating the mixture for a few minutes and ensuring that the cream cheese is adequately softened before mixing will help achieve the desired consistency. If your mixture is too runny, it might not set properly, and if it’s too thick, the tarts could turn out overly dense.
CHERRY PIE CHEESECAKE TARTS
Ingredients
- 16 oz cream cheese, softened to room temperature
- ¾ cup granulated sugar
- 1 tsp pure vanilla extract
- 2 large eggs, at room temperature
- 12 vanilla wafers
- 1 can (21 ounces) cherry pie filling
Instructions
- Begin by preheating your oven to 350◦F (175◦C).
- Line a standard muffin pan with cupcake liners for easy removal and clean-up.
- In a large mixing bowl, beat together the softened cream cheese, sugar, vanilla extract, and eggs. Use an electric mixer for best results and continue mixing until the filling is creamy and smooth without any lumps.
- Place a vanilla wafer, flat side down, at the bottom of each cupcake liner. This will form a simple and delicious crust for your tarts.
- Pour or spoon the cream cheese mixture over each vanilla wafer, filling each liner until it's approximately 1/4 inch from the top.
- Place the muffin pan in your preheated oven and bake for 15-20 minutes. The tarts should be set, but the centers may still be slightly jiggly. You can test the readiness by inserting a toothpick into the center of a tart; if it comes out clean, they are done.
- Remove tarts from the oven and allow them to cool to room temperature. They will naturally sink a little in the center as they cool. Once cooled, spoon the cherry pie filling generously on top of each tart.
- For the best flavor and texture, refrigerate the tarts until they are thoroughly chilled, preferably for at least an hour, before serving.


Leave a Reply